
How to Organize Travel Photos by Country (Step by Step)
Your phone sorts photos by date; your memory sorts by place. Here's a simple, no-weekend system for organizing your travel photos by country.

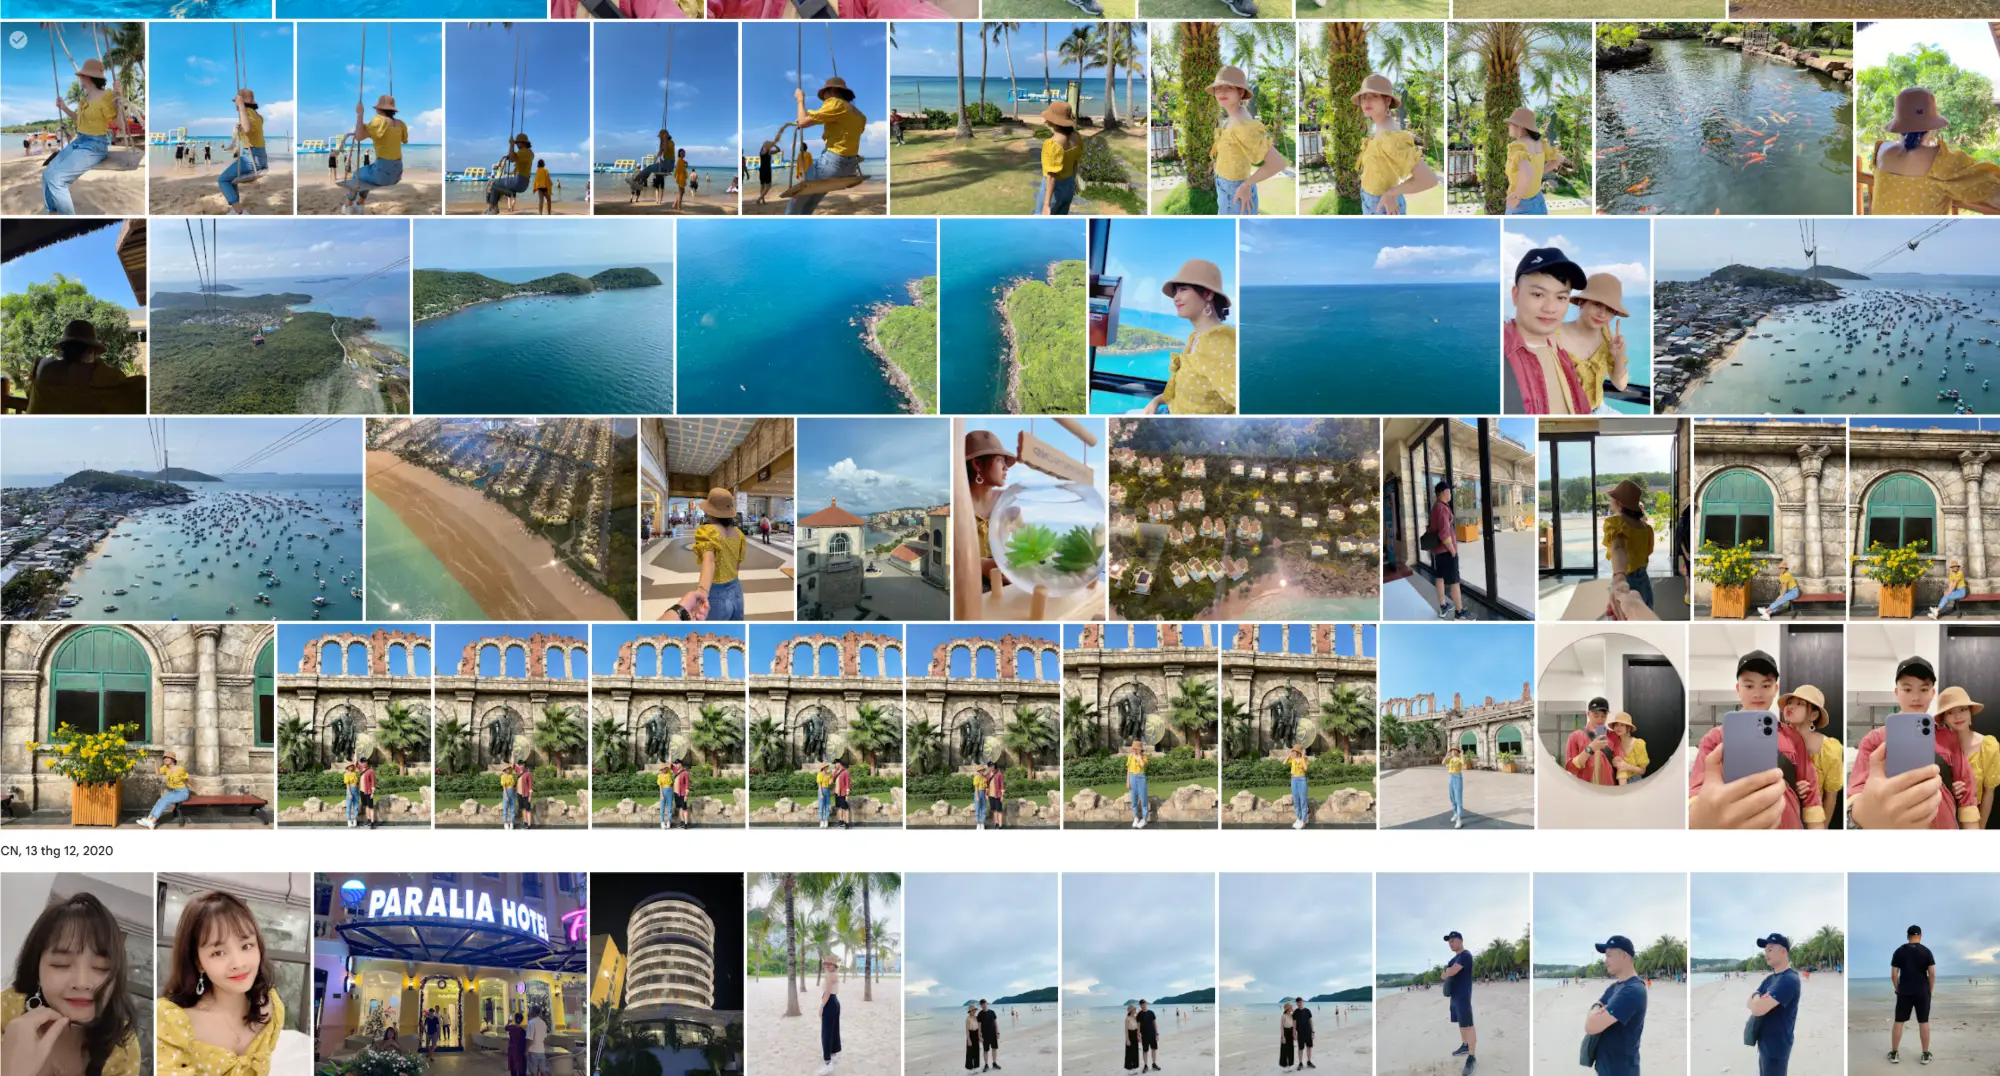
Your phone has thousands of travel photos, and it sorts them the one way that doesn't match how you remember: by date. You don't think "March 14th." You think Japan. Organizing your travel photos by country closes that gap — and it's far less work than the "clear a weekend and sort everything" advice makes it sound.
Here's the short version: don't organize forward through all 10,000 photos. Work backwards from your favorites. Pull out the keepers, group only those into one album per country using the location data your photos already carry, and leave the rest alone. Below is the whole system.
Why by country, and not by date
The quick version (there's a longer case for it in what to do with travel photos you never look at): memory is built around places, not timestamps. When people sort their own travel photos with no rules, they group by country almost every time — it's simply how the brain files a trip. Working with that instinct is why "by country" feels natural and "by date" feels like homework.
One reason matters for the mechanics too: a single trip often crosses several countries, but your camera roll lumps it into one date range. Organizing by country untangles that into the units you actually remember.
The mistake that makes this feel impossible
Most people start at photo #1 and try to sort forward. That's the trap. Ten thousand photos in chronological order is a wall, and you'll quit by photo #200.
Flip it. You don't need to file 10,000 photos into countries. You need to rescue the best few from each trip and file only those. The other 95% stay exactly where they are, backed up and ignored. Organizing by country is a curation job, not a filing job.
The system, step by step
1. Favorite first, sort later. Open one trip. Scroll it once, fast, and heart only the photos that make you feel something — aim for 20 to 40 per country. Don't create any albums yet. You're just separating keepers from the pile.
2. Let your photos tell you the country. Your photos already know where they were taken. Use it:
- Apple Photos: the Places album shows every photo on a map — tap a country to see everything shot there. You can also just search "Japan" and it filters by location.
- Google Photos: search a country or city name, or open the map view, and it surfaces photos taken there automatically.
This is the shortcut that saves your weekend. You're not remembering which photo is where — the location data already knows.
3. One album per country. Create an album named for the country — just "Portugal," not "Portugal Trip 2023 Final v2." Add your favorited keepers. Repeat per country. That's the core of the whole system.
4. Split multi-country trips by where each photo was taken. A three-week Southeast Asia trip isn't one album — it's Thailand, Vietnam, Cambodia. File each photo by the country it was taken in, not the trip it belonged to. The location data does this for you, and it matches how you'll go looking later ("that temple in Cambodia," never "week two").
5. Keep naming boring and consistent. Country name only. No dates, no version numbers, no emoji. Consistency is what lets you find things in three years. Been to a country twice? Keep it one album — your memory doesn't separate your two trips to Italy, so your photos shouldn't either.
6. Put the result where you'll see it. This is the step everyone skips, and it's the one that makes the rest worth doing. An album buried in your photo app is still out of sight. The payoff comes when your organized-by-country photos live somewhere you'll actually open — a travel map or globe where each country holds its album, one tap away.
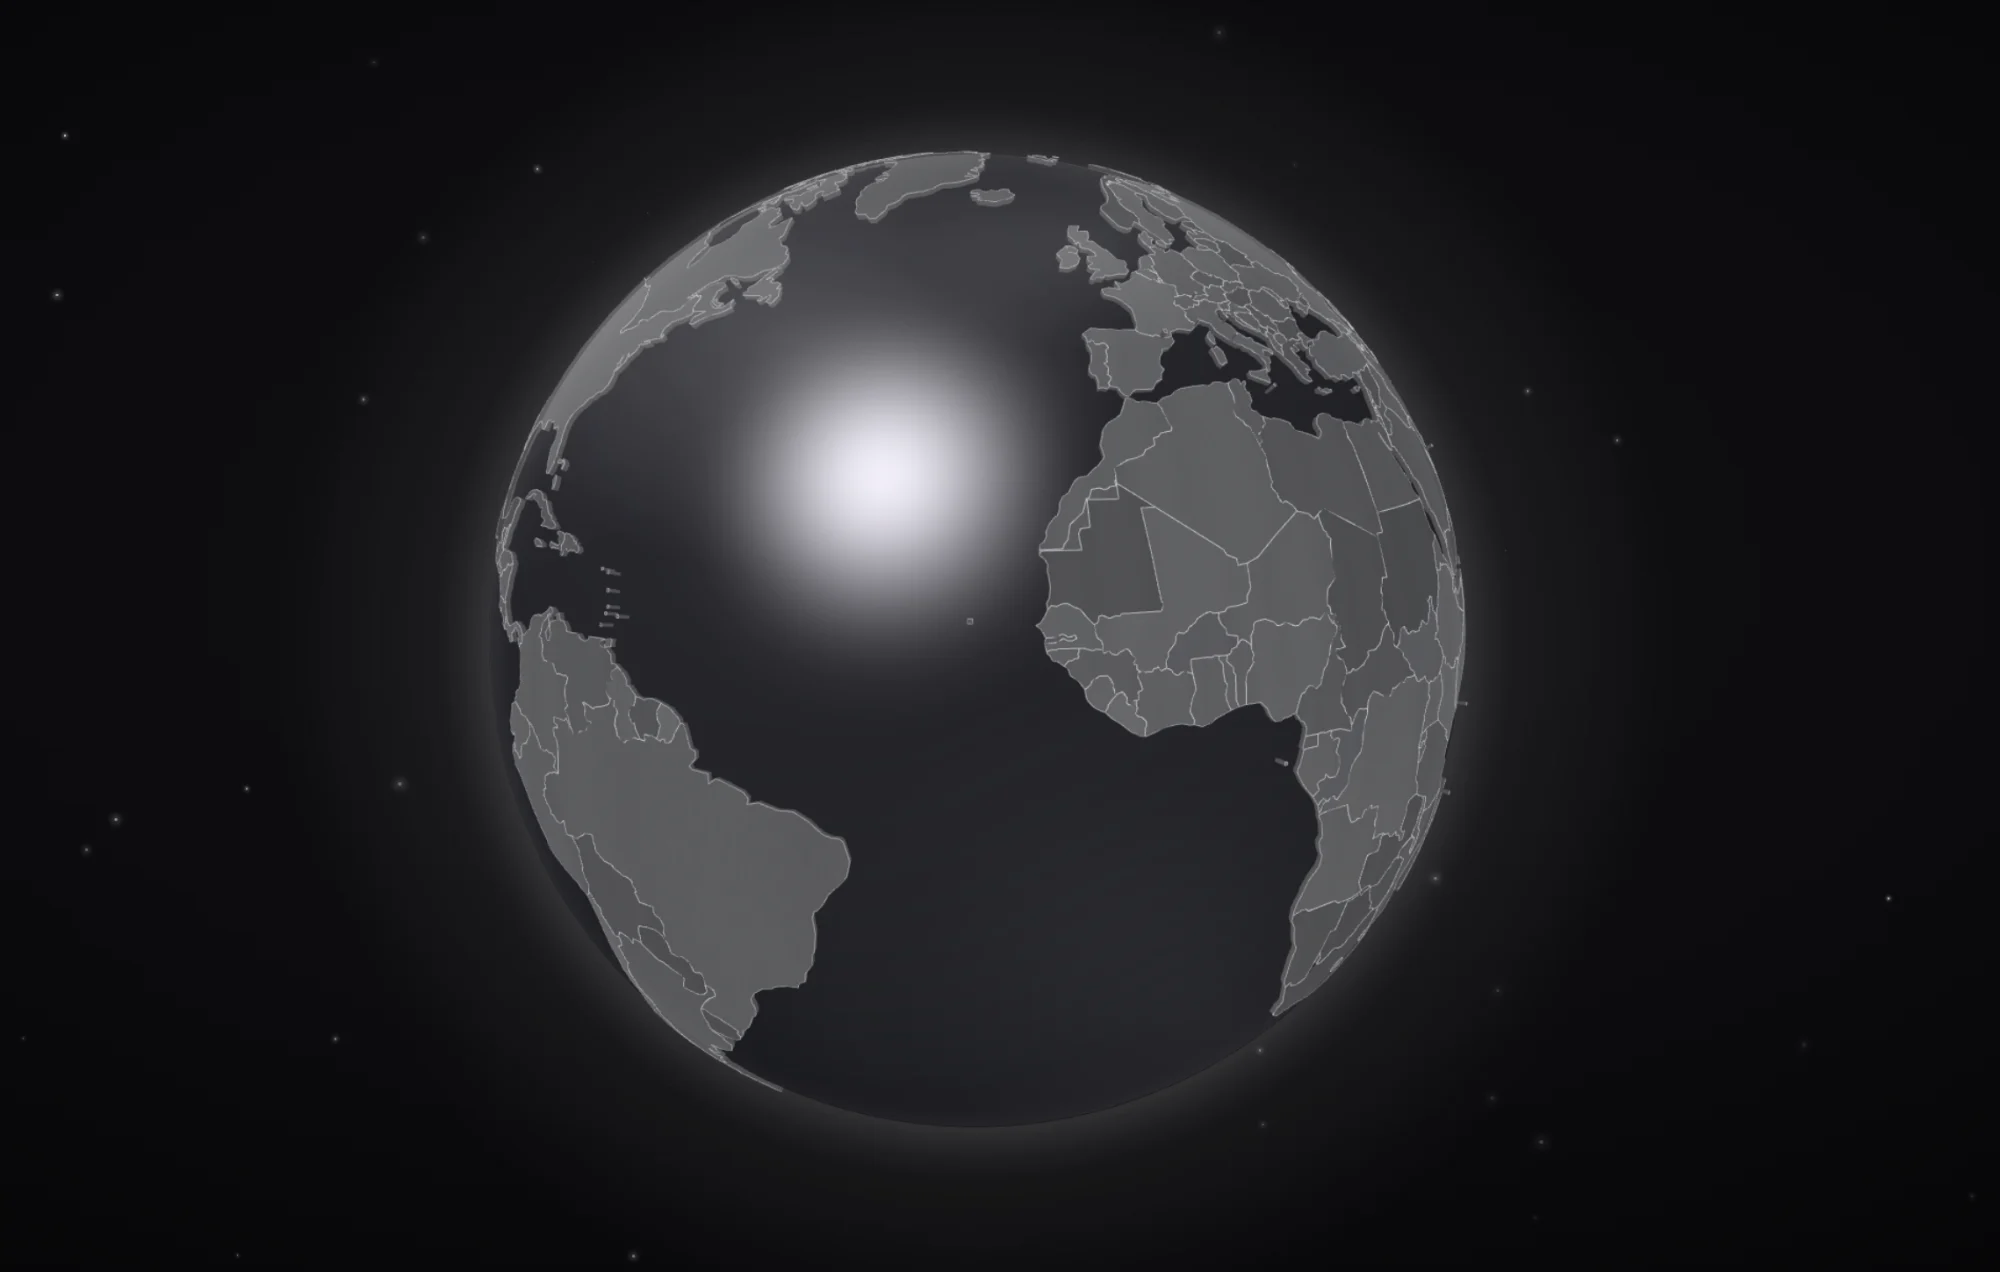
I moved mine onto a 3D globe for exactly this reason: each country I've been to holds its handful of photos, and I can spin it, open a country, and relive the trip in one tap. You can build one free at odyssa.me.
So it never piles up again
The reason 10,000 photos accumulate is that "organize my photos" is a scary once-a-year project. Make it a tiny once-a-trip habit instead:
- The day you get home, before the trip fades, favorite your 20–40 keepers and drop them in the country album. Fifteen minutes, while it's fresh.
- That's it. Do it every trip and you never face the wall again.
Quick tool reference
- Just your phone: Apple Photos or Google Photos albums, grouped by country using the Places/map view. Free, already installed.
- A shareable home: a travel map or interactive globe like Odyssa, where each country is an album you can revisit and share as a link.
FAQ
How do I organize travel photos by country on my phone? Favorite your best photos per trip, then use your photo app's location view — Apple Photos' Places or Google Photos' map and search — to find everything shot in each country, and add those to a country-named album. Let the location data do the sorting.
Should I organize travel photos by date or by country? By country. Phones default to date because it's easy for software, but people remember trips by place. Organizing by country matches how you'll actually search for a memory later.
How do I handle a trip that covered several countries? File each photo by the country it was taken in, not by the trip. Your three-week Asia trip becomes separate Thailand, Vietnam, and Cambodia albums — which is exactly how you'll go looking for those photos later.
What do I do with all the photos I don't keep? Nothing. Leave them backed up and untouched. Organizing by country is about rescuing the best few, not filing every photo — the rest can stay where they are forever.